Introduction
If you’re looking for a fun, festive, and customizable Christmas cookie, look no further than Kitchen Sink Christmas Cookies. These cookies combine an irresistible blend of sweet, salty, and crunchy elements all in one, making them a crowd-pleasing treat for the holiday season. Whether you’re baking for a Christmas party, a gift exchange, or simply to enjoy at home, these cookies offer the perfect combination of flavors and textures to satisfy any sweet tooth.
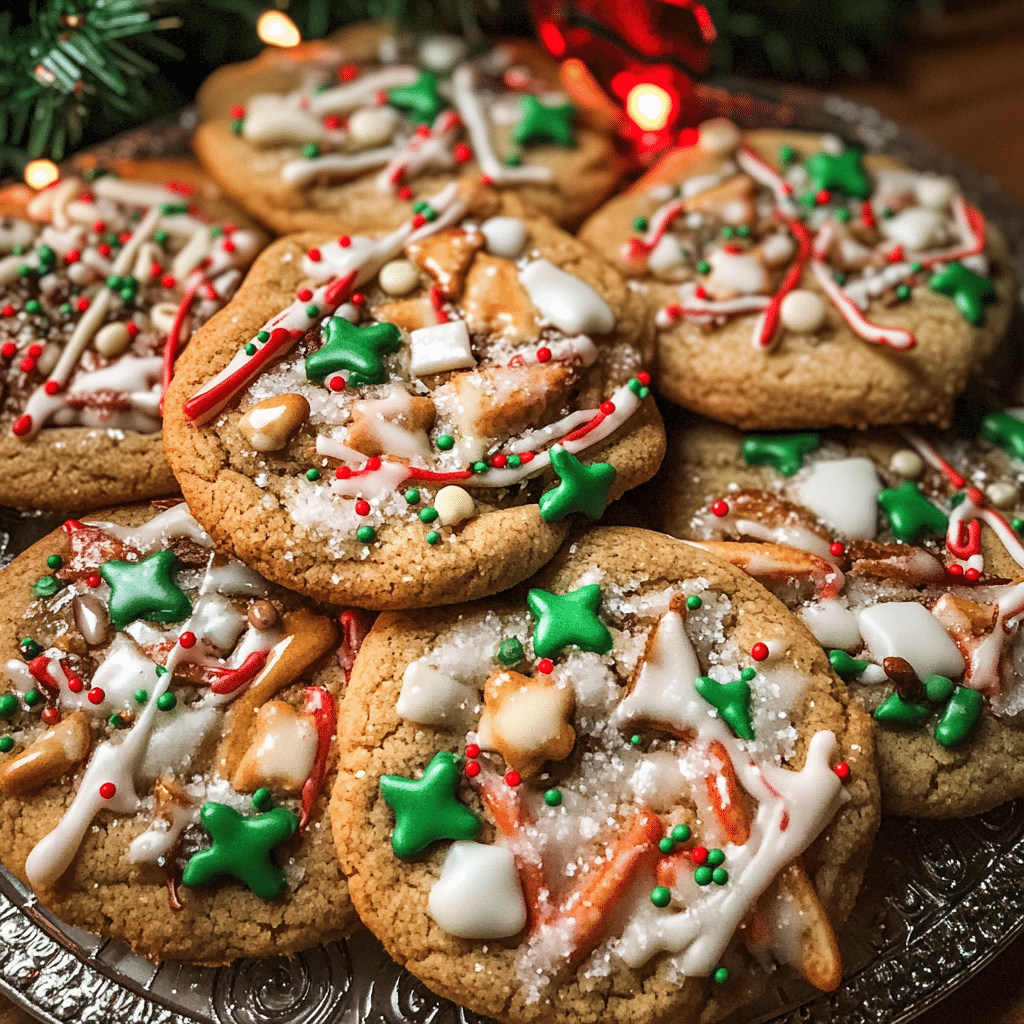
What makes these cookies stand out is the “kitchen sink” concept. Essentially, you throw in everything but the kitchen sink—chocolate, nuts, dried fruit, candies, and more. The result is a cookie with layers of flavor and texture, with every bite offering something new and delightful. In this article, we’ll explore why Kitchen Sink Christmas Cookies are the best holiday cookie, provide a step-by-step guide to making them, and offer creative variations to make this treat your own. Get ready for the most festive cookie recipe you’ve ever baked!
Why You’ll Love This Recipe
- A Symphony of Flavors: These cookies bring together a perfect mix of sweet, salty, nutty, and chewy flavors. The variety of ingredients ensures every bite is different, making each one exciting and satisfying.
- Perfect for Holiday Gifting: With their vibrant mix of ingredients and textures, these cookies make an excellent gift for neighbors, friends, or family during the holiday season.
- Customizable to Your Preferences: You can tweak the ingredients based on what you have on hand or your dietary preferences, making them versatile and adaptable for any taste.
- Fun to Make with Kids: The Kitchen Sink concept is great for involving kids in the baking process. They can help mix in the ingredients and get creative with what goes into the cookie dough.
- No-Fail Recipe: With simple ingredients and straightforward steps, this recipe is virtually foolproof, ensuring you’ll have delicious cookies every time you bake them.
Preparation Time and Servings
- Total Time: 2 hours 15 minutes (30 minutes prep time, 1 hour 45 minutes baking and cooling time)
- Servings: This recipe makes about 24 cookies, depending on the size you scoop.
- Nutrition Facts (per serving): Calories: 200, Protein: 2g, Carbs: 28g, Fat: 10g.
Ingredients
For the Cookie Dough:
- 2 ½ cups all-purpose flour: This forms the base of the cookie dough and provides structure.
- 1 tsp baking soda: Helps the cookies spread and rise evenly.
- 1 tsp salt: Balances the sweetness of the dough and enhances the flavors.
- 1 cup (2 sticks) unsalted butter, softened: Adds richness and helps create a soft, chewy texture.
- ¾ cup granulated sugar: Provides sweetness and helps the cookies spread.
- ¾ cup packed brown sugar: Adds a deeper, molasses-like sweetness and contributes to the chewy texture.
- 2 large eggs: Essential for binding the dough and adding moisture.
- 1 tsp vanilla extract: Enhances the overall flavor of the cookie dough.
- 1 ½ cups old-fashioned rolled oats: Adds texture and chewiness to the cookies.
- 2 cups semi-sweet chocolate chips: For a classic, rich chocolate flavor.
- 1 cup white chocolate chips: Offers a contrast to the dark chocolate and adds a creamy sweetness.
- 1 cup chopped mixed nuts (such as walnuts, pecans, or almonds): For crunch and a nutty depth of flavor.
- 1 cup pretzels, coarsely crushed: Adds a salty crunch that complements the sweetness of the cookie.
- 1 cup M&M’s or holiday-themed candy: For a pop of color and a fun, festive touch.
- 1 cup dried cranberries or raisins: To bring a chewy, tart element to balance the sweetness.
- 1 cup butterscotch chips (optional): For extra sweetness and flavor.
Optional Garnishes:
- Chopped pistachios or walnuts: For additional crunch and festive garnish.
- Sprinkles or edible glitter: For extra holiday sparkle and color.
Step-by-Step Preparation
FIRST STEP: PREPARE THE COOKIE DOUGH
- Combine Dry Ingredients:
In a large bowl, whisk together the all-purpose flour, baking soda, and salt. Set this bowl aside as you prepare the wet ingredients. - Cream the Butter and Sugars:
In another large bowl, beat the softened butter, granulated sugar, and brown sugar together using an electric mixer on medium speed. Mix until light and fluffy, which should take about 2-3 minutes. This step ensures the dough will be soft and tender once baked. - Add the Eggs and Vanilla:
Add the eggs one at a time, making sure to beat well after each addition. Stir in the vanilla extract, ensuring the mixture is smooth and evenly combined. - Mix in Dry Ingredients:
Gradually add the dry ingredients to the wet mixture, stirring gently until fully combined. Be careful not to overmix, as this can lead to dense cookies. - Add the Oats:
Stir in the old-fashioned rolled oats, making sure they are evenly distributed throughout the dough. The oats will give the cookies texture and chewiness. - Incorporate the Fun Mix-ins:
Now, it’s time to get creative! Stir in the semi-sweet chocolate chips, white chocolate chips, chopped mixed nuts, crushed pretzels, M&M’s, dried cranberries, and butterscotch chips (if using). Make sure everything is evenly mixed so that each cookie will have a little bit of everything.
SECOND STEP: CHILL THE DOUGH
- Chill for Best Results:
Cover the cookie dough with plastic wrap and refrigerate it for at least 30 minutes. Chilling the dough helps the cookies hold their shape during baking and prevents them from spreading too much.
THIRD STEP: SCOOP AND BAKE
- Preheat the Oven:
While the dough chills, preheat your oven to 350°F (175°C). Line two baking sheets with parchment paper or silicone mats to ensure the cookies don’t stick. - Scoop the Dough:
Using a cookie scoop or a tablespoon, scoop the dough into rounded balls and place them onto the prepared baking sheets. Leave about 2 inches of space between each cookie to allow for spreading. - Bake:
Bake the cookies in the preheated oven for 10-12 minutes, or until the edges are golden brown, but the centers are still soft. Keep a close eye on them, as the baking time may vary depending on your oven and the size of the cookies. - Cool on the Baking Sheet:
Once baked, remove the cookies from the oven and let them cool on the baking sheets for about 5 minutes before transferring them to a wire rack to cool completely. This resting time allows the cookies to set and makes them easier to handle.
FINAL STEP: GARNISH AND SERVE
- Optional Garnishing:
If you’d like to add extra flair, you can sprinkle the cookies with chopped pistachios, walnuts, or even a few more M&M’s. A light drizzle of extra honey or melted white chocolate also makes for a festive and delicious finishing touch. - Serve and Enjoy:
Once your Kitchen Sink Christmas Cookies have cooled completely, they are ready to serve! Enjoy them with a hot beverage like tea, coffee, or hot chocolate for the ultimate holiday experience.
How to Serve Kitchen Sink Christmas Cookies
Kitchen Sink Christmas Cookies are incredibly versatile and perfect for all sorts of holiday gatherings. Here are some great ways to serve them:
1. At Holiday Parties
These cookies are the perfect addition to any holiday party or cookie exchange. Their colorful mix-ins and festive appearance make them eye-catching, and their variety of textures and flavors will appeal to a wide range of people.
2. Gift Giving
Package these cookies in a cute tin or box and give them as gifts to neighbors, friends, or family. You can even customize the mix-ins based on the recipient’s preferences (e.g., swapping out cranberries for more chocolate chips or using different nuts).
3. Serve with Milk or Hot Cocoa
Kitchen Sink Christmas Cookies pair wonderfully with a cold glass of milk or a warm cup of hot chocolate. The cookies’ combination of crunchy, chewy, and sweet elements makes them the perfect snack to enjoy during a cozy holiday movie marathon.
4. As a Dessert for Festive Meals
These cookies make a great dessert for Christmas dinner or a festive brunch. Their fun and vibrant colors make them stand out, and they’re easy to serve in bite-sized portions.
Recipe Variations
1. Make Them Gluten-Free
For a gluten-free version, substitute the all-purpose flour with a 1:1 gluten-free flour blend. Be sure to check the other ingredients to ensure they don’t contain gluten.
2. Switch Up the Nuts
While walnuts and pecans are traditional, you can try using almonds, hazelnuts, or macadamia nuts for a different flavor. You can even use a mix of your favorite nuts for variety.
3. Add Spices
Spices like cinnamon, nutmeg, or ginger can add warmth and depth to the flavor of these cookies, making them even more festive. You can add 1-2 teaspoons of cinnamon or a pinch of ginger to the dough for a holiday-spiced twist.
4. Make Them Dairy-Free
To make these cookies dairy-free, simply swap out the butter for a dairy-free margarine or coconut oil, and use dairy-free chocolate chips.
Storage and Freezing
Storing:
Store your Kitchen Sink Christmas Cookies in an airtight container at room temperature for up to 1 week. For longer storage, place parchment paper between layers of cookies to prevent them from sticking together.
Freezing:
These cookies freeze well, making them perfect for preparing ahead of time. To freeze, place the baked cookies in a single layer on a baking sheet and freeze until solid. Then transfer them to a freezer-safe bag or container. They will keep for up to 3 months. To enjoy, thaw at room temperature or reheat in the oven for a few minutes.
Print
Best Kitchen Sink Christmas Cookies
- Total Time: 2 hours
Ingredients
For the Cookie Dough:
- 2 ½ cups all-purpose flour: This forms the base of the cookie dough and provides structure.
- 1 tsp baking soda: Helps the cookies spread and rise evenly.
- 1 tsp salt: Balances the sweetness of the dough and enhances the flavors.
- 1 cup (2 sticks) unsalted butter, softened: Adds richness and helps create a soft, chewy texture.
- ¾ cup granulated sugar: Provides sweetness and helps the cookies spread.
- ¾ cup packed brown sugar: Adds a deeper, molasses-like sweetness and contributes to the chewy texture.
- 2 large eggs: Essential for binding the dough and adding moisture.
- 1 tsp vanilla extract: Enhances the overall flavor of the cookie dough.
- 1 ½ cups old-fashioned rolled oats: Adds texture and chewiness to the cookies.
- 2 cups semi-sweet chocolate chips: For a classic, rich chocolate flavor.
- 1 cup white chocolate chips: Offers a contrast to the dark chocolate and adds a creamy sweetness.
- 1 cup chopped mixed nuts (such as walnuts, pecans, or almonds): For crunch and a nutty depth of flavor.
- 1 cup pretzels, coarsely crushed: Adds a salty crunch that complements the sweetness of the cookie.
- 1 cup M&M’s or holiday-themed candy: For a pop of color and a fun, festive touch.
- 1 cup dried cranberries or raisins: To bring a chewy, tart element to balance the sweetness.
- 1 cup butterscotch chips (optional): For extra sweetness and flavor.
Optional Garnishes:
- Chopped pistachios or walnuts: For additional crunch and festive garnish.
- Sprinkles or edible glitter: For extra holiday sparkle and color.
Instructions
FIRST STEP: PREPARE THE COOKIE DOUGH
- Combine Dry Ingredients:
In a large bowl, whisk together the all-purpose flour, baking soda, and salt. Set this bowl aside as you prepare the wet ingredients. - Cream the Butter and Sugars:
In another large bowl, beat the softened butter, granulated sugar, and brown sugar together using an electric mixer on medium speed. Mix until light and fluffy, which should take about 2-3 minutes. This step ensures the dough will be soft and tender once baked. - Add the Eggs and Vanilla:
Add the eggs one at a time, making sure to beat well after each addition. Stir in the vanilla extract, ensuring the mixture is smooth and evenly combined. - Mix in Dry Ingredients:
Gradually add the dry ingredients to the wet mixture, stirring gently until fully combined. Be careful not to overmix, as this can lead to dense cookies. - Add the Oats:
Stir in the old-fashioned rolled oats, making sure they are evenly distributed throughout the dough. The oats will give the cookies texture and chewiness. - Incorporate the Fun Mix-ins:
Now, it’s time to get creative! Stir in the semi-sweet chocolate chips, white chocolate chips, chopped mixed nuts, crushed pretzels, M&M’s, dried cranberries, and butterscotch chips (if using). Make sure everything is evenly mixed so that each cookie will have a little bit of everything.
SECOND STEP: CHILL THE DOUGH
- Chill for Best Results:
Cover the cookie dough with plastic wrap and refrigerate it for at least 30 minutes. Chilling the dough helps the cookies hold their shape during baking and prevents them from spreading too much.
THIRD STEP: SCOOP AND BAKE
- Preheat the Oven:
While the dough chills, preheat your oven to 350°F (175°C). Line two baking sheets with parchment paper or silicone mats to ensure the cookies don’t stick. - Scoop the Dough:
Using a cookie scoop or a tablespoon, scoop the dough into rounded balls and place them onto the prepared baking sheets. Leave about 2 inches of space between each cookie to allow for spreading. - Bake:
Bake the cookies in the preheated oven for 10-12 minutes, or until the edges are golden brown, but the centers are still soft. Keep a close eye on them, as the baking time may vary depending on your oven and the size of the cookies. - Cool on the Baking Sheet:
Once baked, remove the cookies from the oven and let them cool on the baking sheets for about 5 minutes before transferring them to a wire rack to cool completely. This resting time allows the cookies to set and makes them easier to handle.
FINAL STEP: GARNISH AND SERVE
- Optional Garnishing:
If you’d like to add extra flair, you can sprinkle the cookies with chopped pistachios, walnuts, or even a few more M&M’s. A light drizzle of extra honey or melted white chocolate also makes for a festive and delicious finishing touch. - Serve and Enjoy:
Once your Kitchen Sink Christmas Cookies have cooled completely, they are ready to serve! Enjoy them with a hot beverage like tea, coffee, or hot chocolate for the ultimate holiday experience.
Nutrition
- Serving Size: 24
- Calories: 200
- Fat: 10g
- Carbohydrates: 28g
- Protein: 2g
Conclusion
Kitchen Sink Christmas Cookies are the ultimate holiday treat. With their delightful combination of sweet, salty, and crunchy elements, they’re sure to be a hit at any festive gathering. Whether you’re baking them for yourself, gifting them to loved ones, or sharing them with friends, these cookies are a fun and delicious way to celebrate the holiday season. Give them a try this Christmas, and enjoy the perfect mix of flavors in every bite!