Introduction
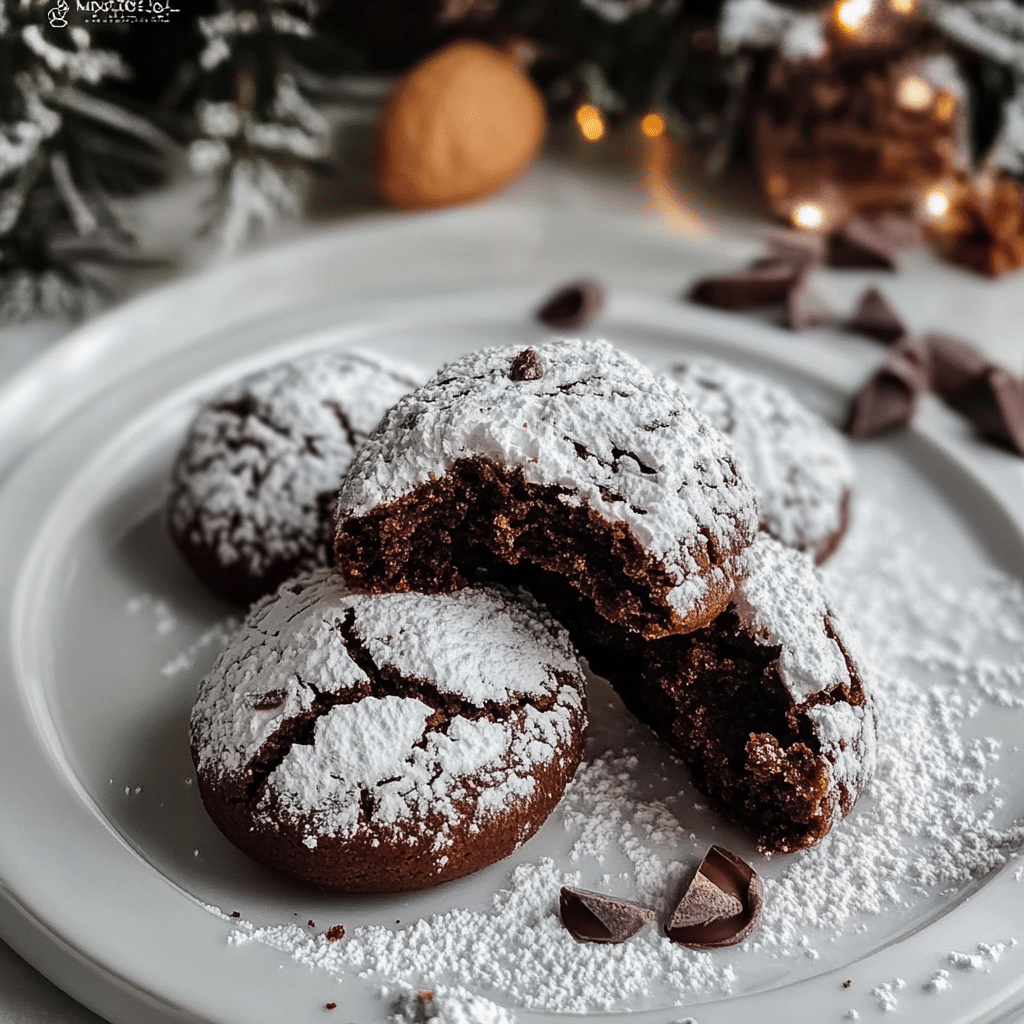
Chocolate snowball cookies, with their rich cocoa flavor and delicate, melt-in-your-mouth texture, are a festive treat perfect for the holiday season—or any time you’re craving a delicious, chocolatey indulgence. These cookies, often covered in powdered sugar that resembles a fresh snow dusting, have a way of bringing joy and comfort with each bite. Their unique, buttery flavor paired with the subtle sweetness of chocolate makes them a favorite at family gatherings, potlucks, or even as a sweet addition to a cookie exchange.
Whether you’re a seasoned baker or someone new to the world of cookies, this recipe for classic chocolate snowball cookies is easy to follow and yields results that will impress. With only a few simple ingredients, you can create a batch of these delightful treats, perfect for sharing with friends and family, or savoring on your own. The best part? These cookies are 100% Halal, so everyone can enjoy them without any concerns.
In this article, we’ll guide you through the process of making these irresistible chocolate snowball cookies, share some tips to help you achieve the best results, and offer some variations to make them your own. Get ready to experience one of the most satisfying cookies you’ll ever taste!
Why You’ll Love This Recipe
- Perfect for Holidays and Celebrations: Chocolate snowball cookies are the ideal festive treat, especially during the winter holidays. Their snowy appearance and rich flavor will add cheer to any celebration.
- Rich, Buttery, and Chocolatey: The combination of cocoa powder and butter creates a melt-in-your-mouth texture that’s hard to resist.
- Halal-Friendly: This recipe contains no pork, bacon, or wine, ensuring it’s suitable for all diets and dietary preferences.
- Easy to Make: With just a few ingredients and simple steps, anyone can make these cookies. Whether you’re a baking pro or a beginner, this recipe will ensure great results.
- Customizable: Although the classic version is delightful, there are many ways to add your own twist to these cookies, making them perfect for every taste.
Preparation Time and Servings
- Total Time: 1 hour 20 minutes (20 minutes for preparation, 10 minutes for baking, 40 minutes for cooling)
- Servings: This recipe makes about 24 cookies, depending on how large you shape them.
- Nutrition Facts (per cookie): Calories: 120, Protein: 1g, Carbs: 15g, Fat: 7g.
Ingredients
Cookies:
- 1 ½ cups all-purpose flour: The base for the cookies, providing structure and a soft texture.
- ¼ cup unsweetened cocoa powder: Adds the rich chocolate flavor that defines these cookies.
- 1 cup unsalted butter (softened): Butter adds richness and a tender, melt-in-your-mouth texture.
- ½ cup powdered sugar: Sweetens the dough without making it overly sweet.
- 1 teaspoon vanilla extract: Enhances the flavor of the chocolate and butter in the cookies.
- ¼ teaspoon salt: Balances the sweetness and highlights the chocolate flavor.
- ¼ cup finely chopped nuts (optional): Walnuts, almonds, or pecans can add texture and flavor to the cookies, though they are optional.
Coating:
- 1 cup powdered sugar: To coat the cookies after baking, giving them their signature snowy appearance.
- A pinch of salt: To balance the sweetness of the powdered sugar coating.
Step-by-Step Preparation
FIRST STEP: MAKE THE COOKIE DOUGH
- Preheat Your Oven: Begin by preheating your oven to 350°F (175°C). Line a baking sheet with parchment paper or a silicone baking mat to ensure the cookies don’t stick while baking.
- Mix the Dry Ingredients: In a medium-sized bowl, sift together the all-purpose flour, cocoa powder, and salt. Sifting ensures that there are no lumps and gives the cookies a smooth texture.
- Cream the Butter and Sugar: In a large mixing bowl, beat the softened butter and powdered sugar together using an electric mixer or stand mixer on medium speed. Beat until the mixture is light and fluffy, about 2 minutes.
- Add the Vanilla: Add the vanilla extract to the butter-sugar mixture and continue beating until fully incorporated.
- Combine the Dry and Wet Ingredients: Gradually add the dry ingredients to the wet ingredients, mixing until the dough comes together. If you’re using nuts, fold them in at this stage for added texture and flavor.
- Form the Dough into Balls: Scoop out small portions of the dough, about 1 tablespoon each, and roll them into balls. The dough will be soft, but it should hold together. If the dough feels too sticky, chill it in the refrigerator for 15-20 minutes to make it easier to handle.
SECOND STEP: BAKE THE COOKIES
- Arrange on the Baking Sheet: Place the dough balls on the prepared baking sheet, spacing them about 2 inches apart to allow for spreading as they bake.
- Bake: Bake the cookies in the preheated oven for 10-12 minutes. They should be firm but still slightly soft in the center. Be careful not to overbake them, as they can dry out. Remember, they will continue to firm up as they cool.
- Cool on a Wire Rack: Once baked, remove the cookies from the oven and allow them to cool on the baking sheet for about 5 minutes. Then, transfer them to a wire rack to cool completely. This helps them maintain their shape and ensures they don’t become too soft.
THIRD STEP: COAT WITH POWDERED SUGAR
- Prepare the Sugar Coating: In a shallow bowl, place the powdered sugar and a pinch of salt. The salt helps balance the sweetness and enhances the flavor of the cookie.
- Coat the Cookies: Once the cookies have cooled, gently roll each cookie in the powdered sugar mixture, ensuring they are completely coated. For an extra snowy appearance, roll them in the powdered sugar a second time once the first layer has set.
- Let the Coating Set: Allow the cookies to sit for a few minutes so the powdered sugar can set and form a soft coating.
FINAL STEP: SERVE AND ENJOY
- Serve: Once the powdered sugar has set, your chocolate snowball cookies are ready to serve. They can be stored in an airtight container for up to a week, though they are usually enjoyed much sooner!
- Store: If you have leftovers, keep them in an airtight container to ensure they remain fresh. They can also be frozen for up to 3 months.
How to Serve Chocolate Snowball Cookies
Chocolate snowball cookies are versatile and can be served in a variety of ways:
1. As a Holiday Treat
These cookies are ideal for holiday celebrations. Their snowy appearance makes them a perfect addition to any Christmas or New Year’s dessert spread. Their rich, chocolate flavor pairs beautifully with a hot cup of coffee or a glass of cold milk.
2. Gift Them
Chocolate snowball cookies make great homemade gifts. Pack them in decorative tins or gift boxes and share the joy of your baking with friends, family, or coworkers. They’re a thoughtful, homemade gift that everyone will appreciate.
3. With Coffee or Tea
Pair your cookies with a hot cup of coffee or tea for a cozy afternoon snack. The rich chocolate flavor of the cookies pairs wonderfully with the bitterness of coffee or the warmth of spiced tea.
4. For Cookie Exchanges
If you’re participating in a cookie exchange, these chocolate snowball cookies will definitely stand out. Their unique flavor and appearance make them a crowd favorite at any cookie swap.
Additional Tips
- Chill the Dough: If you find the dough too soft to handle, place it in the refrigerator for 15-20 minutes before rolling it into balls. This makes the dough easier to work with.
- Add Chocolate Chips: For an extra burst of chocolate, you can add a handful of mini chocolate chips to the dough before baking. This will make the cookies even more chocolatey.
- Use a Cookie Scoop: To ensure uniform cookie sizes, use a cookie scoop to measure the dough. This will help the cookies bake evenly.
- Double the Recipe: If you’re making these cookies for a large crowd or want to have extras for later, feel free to double the recipe.
Recipe Variations
While the classic chocolate snowball cookie recipe is a beloved favorite, there are many ways to put your own twist on it. Here are a few variations to try:
1. Add Nuts
Add finely chopped walnuts, almonds, or pecans to the dough for a delightful crunch and nutty flavor that complements the chocolate.
2. Make It Gluten-Free
For a gluten-free version of these cookies, substitute the all-purpose flour with a gluten-free flour blend. Ensure that your powdered sugar is also gluten-free if necessary.
3. Minty Chocolate Snowballs
Add a teaspoon of peppermint extract to the dough for a festive, mint-chocolate twist that will remind you of peppermint bark.
4. Double Chocolate Snowballs
For even more chocolate indulgence, add a handful of mini chocolate chips to the dough for extra melty pockets of chocolate throughout the cookie.
5. Spicy Chocolate Snowballs
If you love a little heat with your chocolate, try adding a pinch of cayenne pepper or cinnamon to the dough for a warm, spicy kick.
Freezing and Storage
Chocolate snowball cookies freeze beautifully. To store them for later:
- Freeze Before Coating: You can freeze the cookies before rolling them in powdered sugar. Once baked, let them cool completely, then arrange them in a single layer on a baking sheet and freeze for about 1 hour. Afterward, transfer the cookies to an airtight container and freeze for up to 3 months.
- Reheat: When you’re ready to serve, simply thaw the cookies at room temperature and coat them in powdered sugar.
Special Equipment
You don’t need any special tools to make these cookies, but here are a few items that can help:
- Electric Mixer: An electric mixer or stand mixer will make it easier to beat the butter and sugar until light and fluffy.
- Baking Sheet: A good-quality baking sheet ensures even heat distribution while baking the cookies.
- Sifter: Sifting the dry ingredients helps prevent lumps and gives your cookies a smooth texture.

Classic Chocolate Snowball Cookies Recipe
- Total Time: 1 hour
Ingredients
For the Cookies:
- 1 ½ cups all-purpose flour: The base for the cookies, providing structure and a soft texture.
- ¼ cup unsweetened cocoa powder: Adds the rich chocolate flavor that defines these cookies.
- 1 cup unsalted butter (softened): Butter adds richness and a tender, melt-in-your-mouth texture.
- ½ cup powdered sugar: Sweetens the dough without making it overly sweet.
- 1 teaspoon vanilla extract: Enhances the flavor of the chocolate and butter in the cookies.
- ¼ teaspoon salt: Balances the sweetness and highlights the chocolate flavor.
- ¼ cup finely chopped nuts (optional): Walnuts, almonds, or pecans can add texture and flavor to the cookies, though they are optional.
For Coating:
- 1 cup powdered sugar: To coat the cookies after baking, giving them their signature snowy appearance.
- A pinch of salt: To balance the sweetness of the powdered sugar coating.
Instructions
FIRST STEP: MAKE THE COOKIE DOUGH
- Preheat Your Oven: Begin by preheating your oven to 350°F (175°C). Line a baking sheet with parchment paper or a silicone baking mat to ensure the cookies don’t stick while baking.
- Mix the Dry Ingredients: In a medium-sized bowl, sift together the all-purpose flour, cocoa powder, and salt. Sifting ensures that there are no lumps and gives the cookies a smooth texture.
- Cream the Butter and Sugar: In a large mixing bowl, beat the softened butter and powdered sugar together using an electric mixer or stand mixer on medium speed. Beat until the mixture is light and fluffy, about 2 minutes.
- Add the Vanilla: Add the vanilla extract to the butter-sugar mixture and continue beating until fully incorporated.
- Combine the Dry and Wet Ingredients: Gradually add the dry ingredients to the wet ingredients, mixing until the dough comes together. If you’re using nuts, fold them in at this stage for added texture and flavor.
- Form the Dough into Balls: Scoop out small portions of the dough, about 1 tablespoon each, and roll them into balls. The dough will be soft, but it should hold together. If the dough feels too sticky, chill it in the refrigerator for 15-20 minutes to make it easier to handle.
SECOND STEP: BAKE THE COOKIES
- Arrange on the Baking Sheet: Place the dough balls on the prepared baking sheet, spacing them about 2 inches apart to allow for spreading as they bake.
- Bake: Bake the cookies in the preheated oven for 10-12 minutes. They should be firm but still slightly soft in the center. Be careful not to overbake them, as they can dry out. Remember, they will continue to firm up as they cool.
- Cool on a Wire Rack: Once baked, remove the cookies from the oven and allow them to cool on the baking sheet for about 5 minutes. Then, transfer them to a wire rack to cool completely. This helps them maintain their shape and ensures they don’t become too soft.
THIRD STEP: COAT WITH POWDERED SUGAR
- Prepare the Sugar Coating: In a shallow bowl, place the powdered sugar and a pinch of salt. The salt helps balance the sweetness and enhances the flavor of the cookie.
- Coat the Cookies: Once the cookies have cooled, gently roll each cookie in the powdered sugar mixture, ensuring they are completely coated. For an extra snowy appearance, roll them in the powdered sugar a second time once the first layer has set.
- Let the Coating Set: Allow the cookies to sit for a few minutes so the powdered sugar can set and form a soft coating.
FINAL STEP: SERVE AND ENJOY
- Serve: Once the powdered sugar has set, your chocolate snowball cookies are ready to serve. They can be stored in an airtight container for up to a week, though they are usually enjoyed much sooner!
- Store: If you have leftovers, keep them in an airtight container to ensure they remain fresh. They can also be frozen for up to 3 months.
Nutrition
- Serving Size: 24
- Calories: 120
- Fat: 7g
- Carbohydrates: 15g
- Protein: 1g
Conclusion
Chocolate snowball cookies are a delightful, festive treat that combines the best of buttery, chocolatey goodness with a light, melt-in-your-mouth texture. Whether for a holiday gathering, a gift, or just because you’re craving something sweet, these cookies are sure to satisfy. With their rich cocoa flavor, snowy appearance, and Halal-friendly ingredients, they make a perfect treat for everyone to enjoy. Try this classic recipe today and savor the joy of homemade chocolate snowball cookies!